Apertium guide for Windows users
This tutorial will guide you how to use Apertium Installer to install :
- Apertium
- Apertium language pairs
- TortoiseSVN (GUI SVN client for Windows)
- Notepad++ (Good open source text editor)
With Apertium Installer for Windows, there is no need to install tools such as Cygwin, Subversion, GCC etc. (which another guide such as Apertium_on_Windows require you to install).
Install Apertium
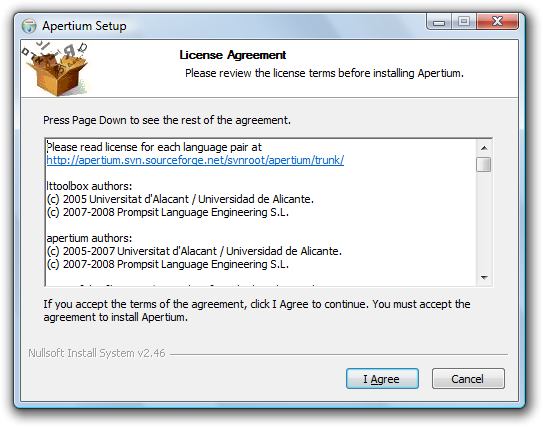
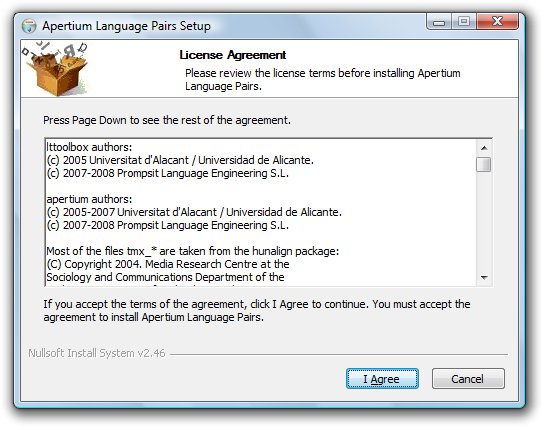
1. Download the installer from Sourceforge. Run and read the license argument of Apertium installer (most parts are GNU/GPL) then click "I Agree" to continue.
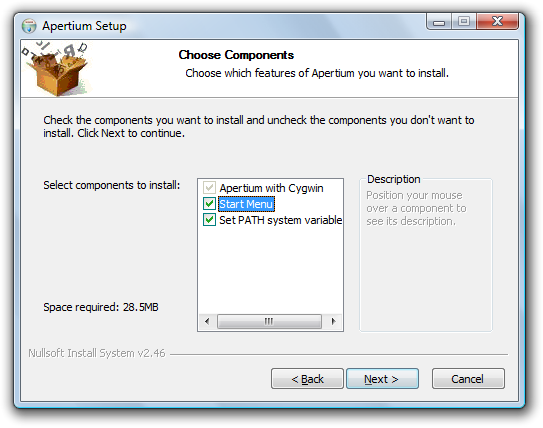
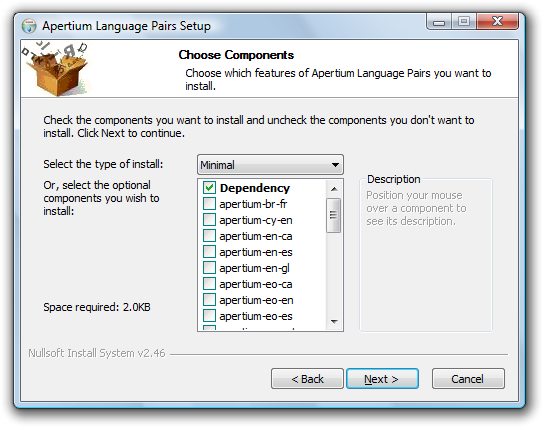
2. Select components to install (All of them are recommended for unexperienced users) then click "Next" to go to next page.
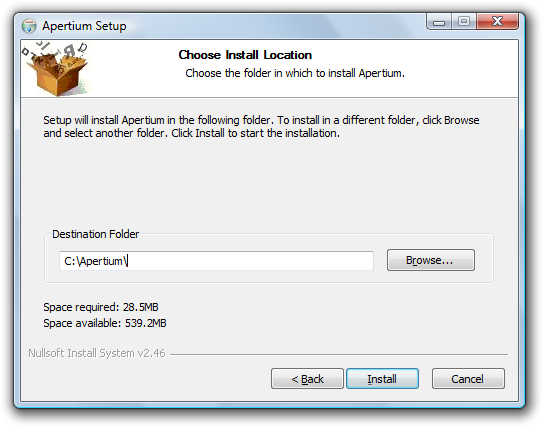
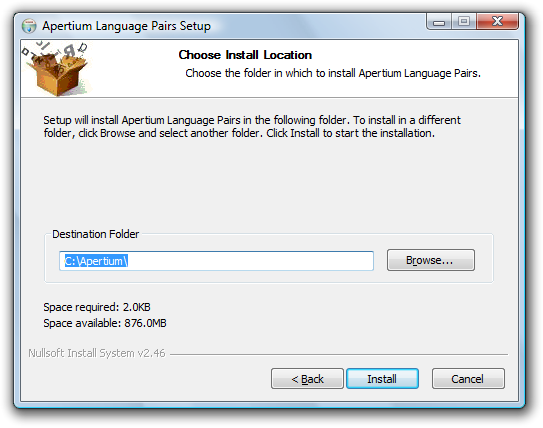
3. Choose the desired install location, location without special characters (eg. space, non-English characters) is recommended
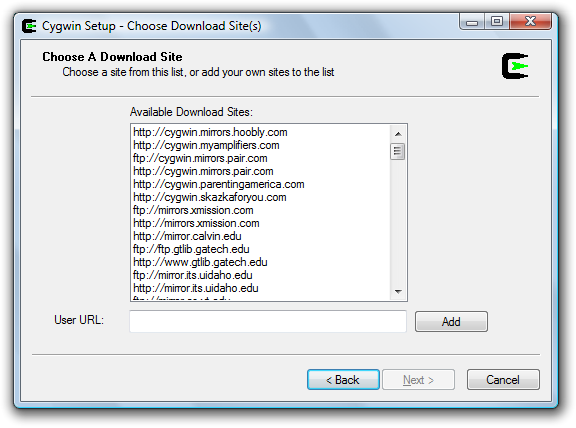
4. Cygwin installer will appear. Choose the nearest mirror and continue.
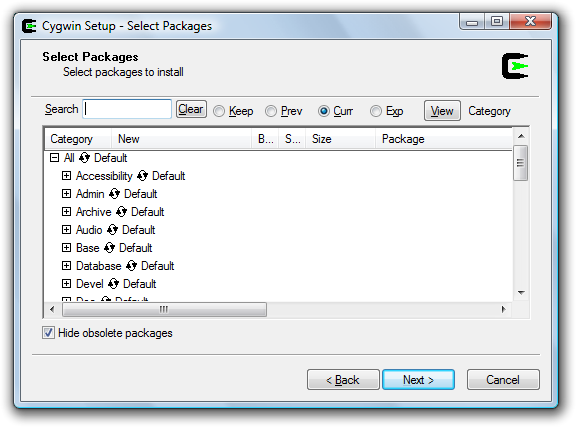
5. You will be asked to select Cygwin packages, (It is okay to leave them all unmarked) click "Next" to continue.
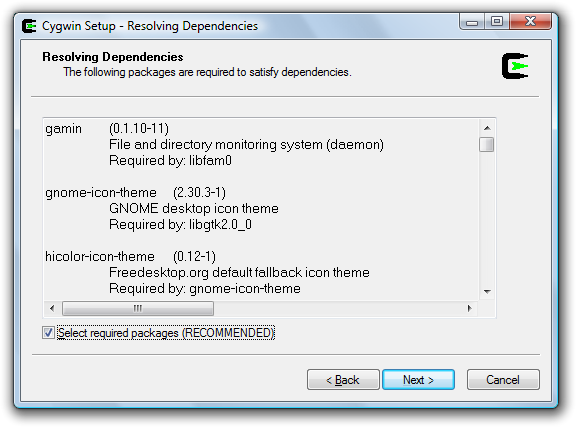
6. Installer will list packages which are required to install to resolve dependency problems. Click "Next" to continue.
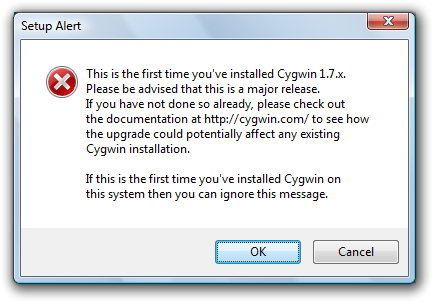
7. There will be an alert box around the first time installation, just ignore and click "OK"
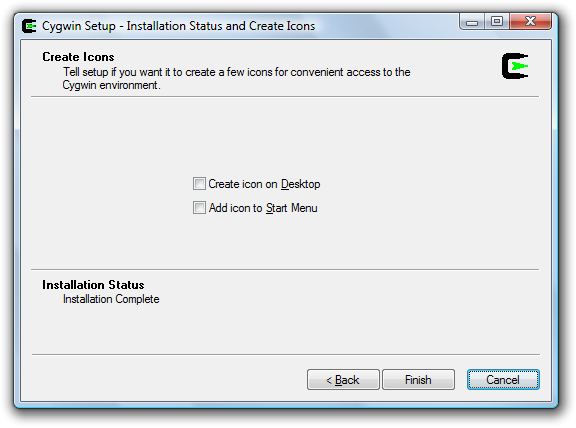
8. Cygwin setup will ask to create desktop icon and shortcut in Start Menu. Apertium installer will also create Start Menu shortcut so there is no need to select them.
9. Thent there will be a console recompiling Apertium and lttoolbox. It will take around 30-60 minutes. (It is fine to do other things during the waiting)
Quick test that it works
You should now have the core/engine of Apertium installed (but no language pairs yet).
After the installation, the black "Cygwin" terminal window should be visible (you can also find a link to this in your Start menu under "Apertium"). If you try typing "apertium" and enter, you should see USAGE: apertium [-d datadir] [-f format] [-u] <direction> [in [out]] and some more text like that. If not, something probably went wrong...
Install Apertium language pairs
1. Download the installer from Sourceforge. Run and read the license argument of Apertium installer (most parts are GNU/GPL) then click "I Agree" to continue.
2. Select language pairs you would like to install and click "Next" to continue. Full installation take few hours to install and not recomment for normal user.
3. Select location to install and click "Next". (Must be the same location that Apertium had been installed.)
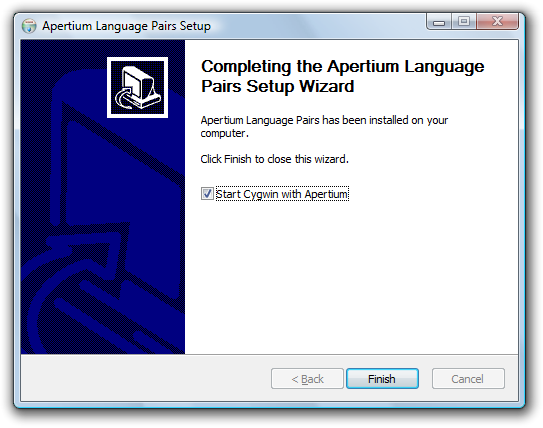
4. Click Finish to finish installation process.
Quick test that it works
After the installation, the black "Cygwin" terminal window should be visible (you can also find a link to this in your Start menu under "Apertium").
If you type "apertium -l" (without the quotes) and enter, you should see a list of the codes of the installed language pairs. If this lists es-ca, you can try typing "echo hola mundo | apertium es-ca" (without the quotes), you should see "hola món"; similarly for other language pairs.
Translating a file
Example: translating an HTML file from Asturian to Spanish:
apertium -f html ast-es $(cygpath c:\\mystuff\\asturian_input.html) $(cygpath c:\\mystuff\\spanish_output.html)
(The cygpath stuff is unfortunately needed to get to a Windows file path from Cygwin. A Windows Power User could probably write a script to make this a right-click menu option.)
Please note that backslash needs to be escaped, by typing it twice!
Note : It is also possible to use UNIX syntax for paths replacing every \ of Windows path by a / . I don't know if it resolves the problem of cygpath. Bech 09:02, 11 September 2011 (UTC)
Developing further on a language pair
The installer puts the language data inside the Cygwin directory /home/apertium-install/languages, which is really located within the Windows directory C:\Apertium\home\apertium-install\languages. In there you'll find directories for all the installed language pairs, and can change language data and recompile etc. as described in Apertium_New_Language_Pair_HOWTO
- or was it
/home/apertium-installation/...?
Install TortoiseSVN(optional)
- See also: Using SVN with TortoiseSVN
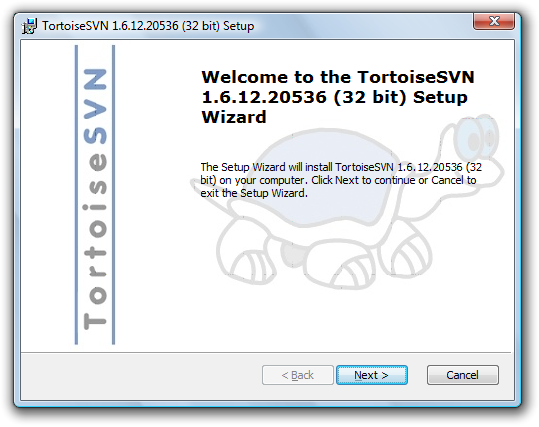
1. Download TortoiseSVN from Offical downloads page. Run and click next to skip introduction step.
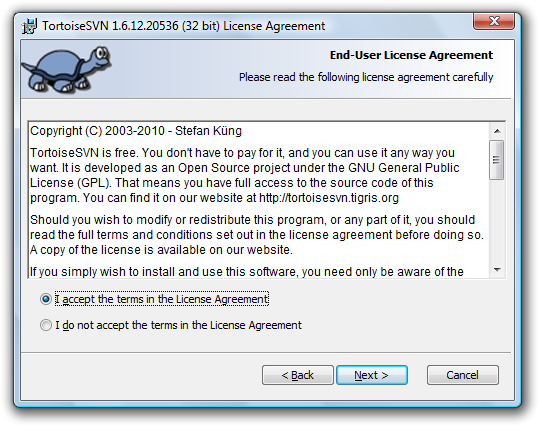
2. Read EULA and select "I accept the terms in the License Agreement", click "Next" to continue.
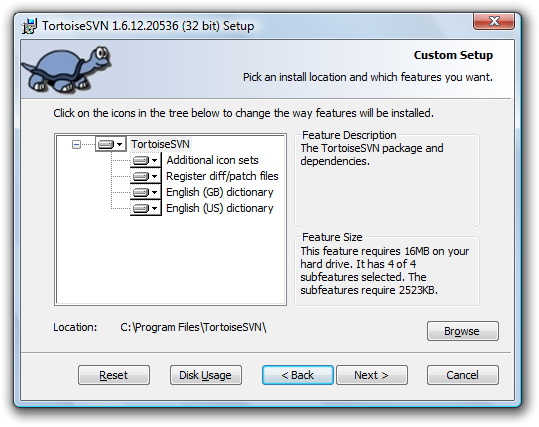
3. Select components to install, you can leave it as it is and click "Next" to continue.
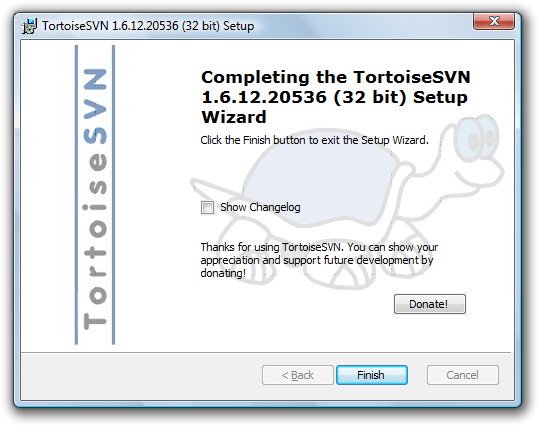
4. The installer will show the finish page, click next and it will ask you to restart. You need to restart your machine to start using TortoiseSVN.
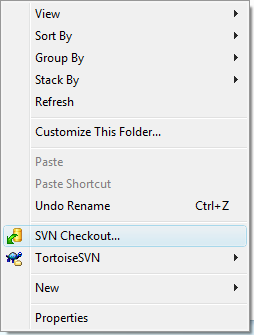
5. After TortoiseSVN there will be a menu item in context menu of every files and directories. To checkout SVN click "SVN checkout..."
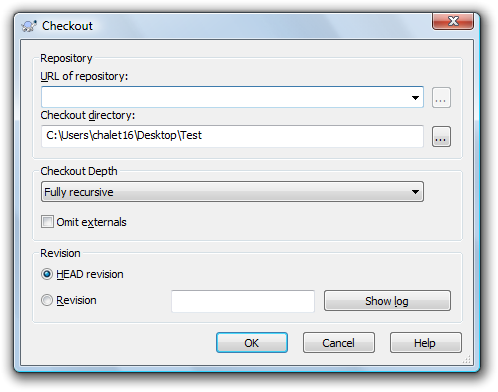
6. You can now type URL of repository in Checkout dialog and click OK to start SVN checkout.
Install Notepad++(optional)
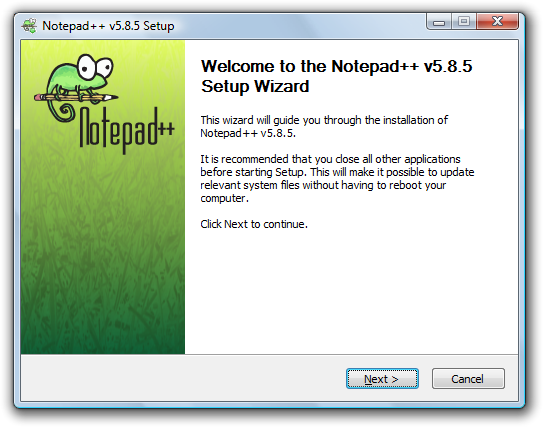
1. Download Notepad++ from offical site. Run and click "Next" to continue.
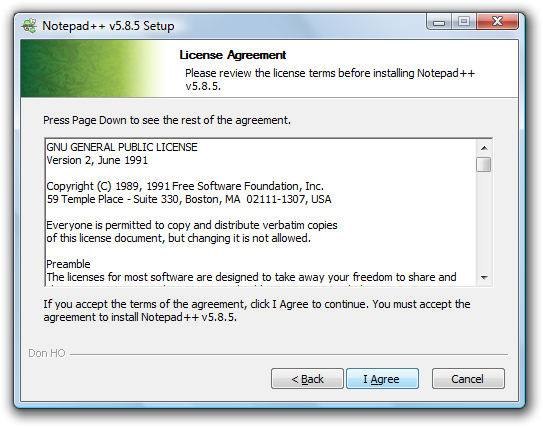
2. Read license agreement and click "I agree" to continue.
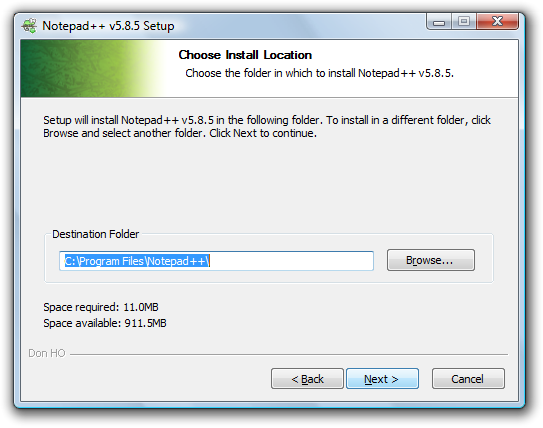
3. Select install location (recommmend default) and click "Next" to continue.
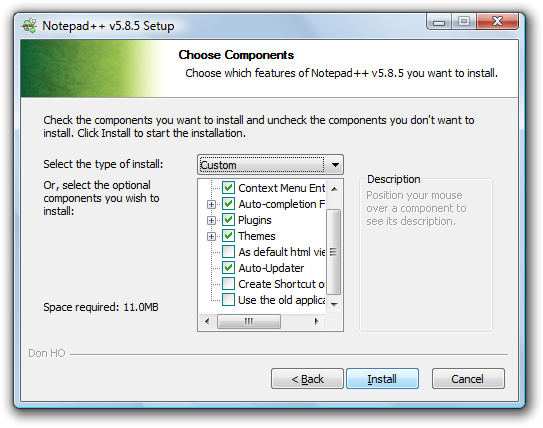
4. Select components to install, just leave it as default and click "Next" to continue.
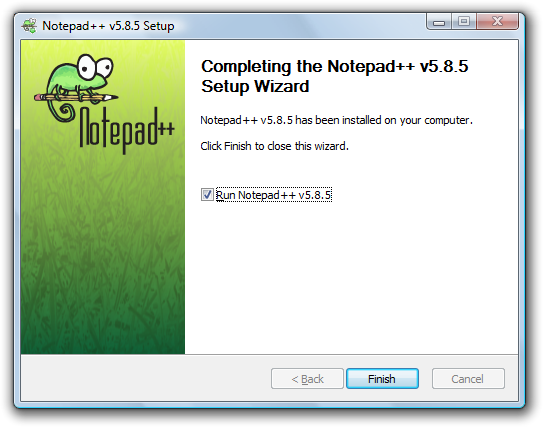
5. The installer will start to process. After that you can select to run Notepad++ for first time.
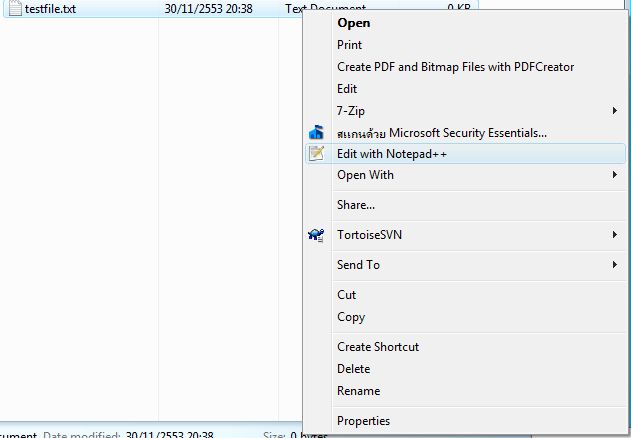
6. You can edit any files with Notepad++ by right click on them and click on a menu item named "Edit with Notepad++".
How to commit changes to SVN using TortoiseSVN
You need to request commit access before follow this part of tutorial. You can request commit access from these following ways.
- IRC: #apertium on irc.freenode.net
- Mailing List: apertium-stuff AT lists.sourceforge DOT net
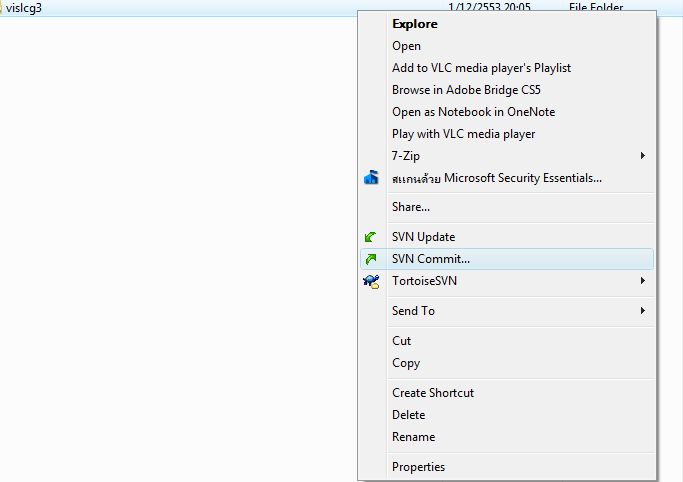
1. Right click on directory you would like to commit changes and click "SVN Commit..." (Language pairs will normally located in C:\Apertium\home\apertium-install\languages)
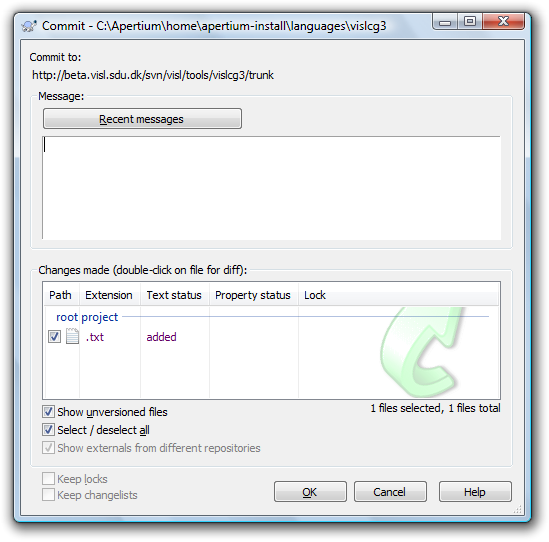
2. Type message describe your changes and select file you wish to commit. Then click "OK" to start the process.
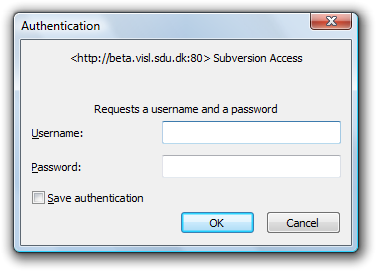
3. There will be a dialog ask your username and password. Fill the information and click "OK"
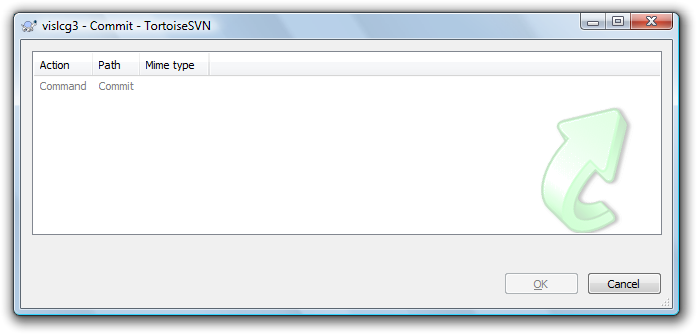
4. You will see a dialog show committing progress. Just wait and click "OK" after the process finished.
